How Easy Is It To Set Up a Video Doorbell As a DIYer?
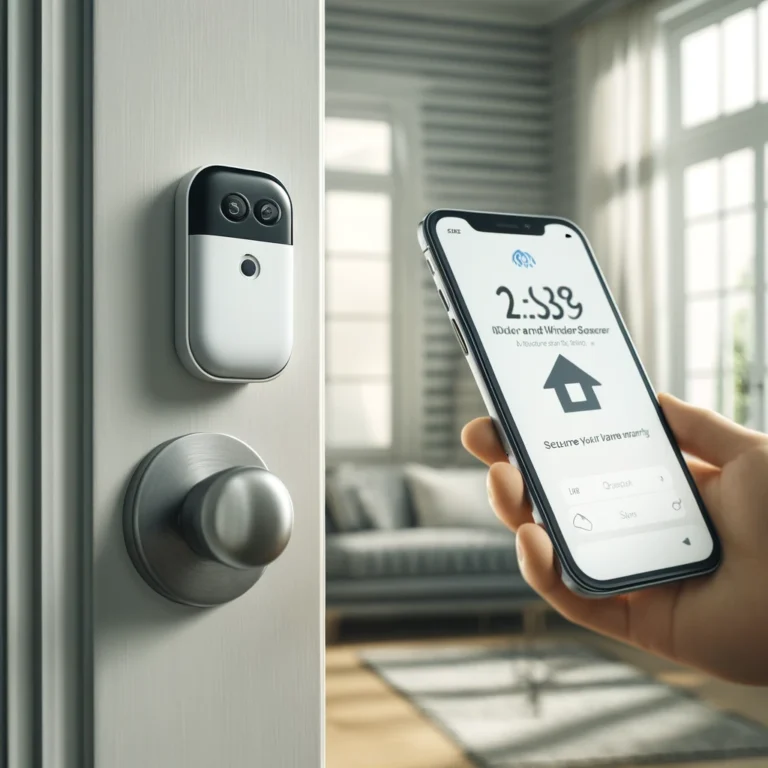
Video doorbells have become one of the most popular smart home upgrades in recent years. They offer increased security, convenience, and peace of mind by allowing you to see and communicate with anyone at your front door, no matter where you are. But how easy is it to set one up yourself? If you’re considering a DIY installation, here’s everything you need to know.
Click here to check out the best doorbells to buy…

Things to Consider Before Installing
Before diving into the installation process, there are several key factors to consider that will impact how easy or challenging the setup might be.
1. Wired vs. Wireless Video Doorbells
There are two main types of video doorbells: wired and wireless (battery-operated).
Wired doorbells: These require an existing doorbell wiring system to function. Installation is a bit more involved since you’ll need to work with electrical wiring.
Wireless doorbells: These are battery-operated, making them much easier to install since no wiring is required. The downside is that you’ll need to recharge the batteries periodically.
2. Compatibility with Your Existing Doorbell System
If you choose a wired model, it’s important to ensure that your existing doorbell wiring and chime are compatible with the new video doorbell. Some older doorbell systems may not provide enough voltage to power newer, advanced video doorbells.
3. Internet and Wi-Fi Strength
Since video doorbells rely on your home’s Wi-Fi network, make sure the Wi-Fi signal at your front door is strong enough to support live streaming and motion detection. Poor Wi-Fi can cause delays in notifications and choppy video quality, reducing the effectiveness of the device.
4. Tools and Time Required
The difficulty of installation can depend on whether you have the right tools. Most video doorbells require basic tools like screwdrivers, a drill, and possibly a voltage tester for wired setups. Additionally, take note of the estimated time: most installations take 30-60 minutes, depending on your system.
Remember, unlike automated light switches you can opt in for a wireless doorbell that are super easy to set up, the downside is you will need to change batteries frequently but that might be an option for you if you do not want to carry out DIY.
Easiest Video Doorbells to Set Up
While some video doorbells are more complicated to install, others are designed specifically for DIYers with minimal technical skills. Here are some of the easiest video doorbells to install:
1. Ring Video Doorbell (Battery-Powered)
Ring offers several versions of their video doorbells, but the battery-powered models are by far the easiest to install. Since there’s no need to deal with wiring, installation is as simple as mounting the doorbell and connecting it to your Wi-Fi network. Ring also provides detailed step-by-step instructions via the app.
2. Nest Doorbell (Battery)
Google’s Nest Doorbell offers both wired and wireless versions, but the battery-powered model is ideal for DIYers. The installation process is straightforward, and the app guides you through the entire process. It’s great for those who want a quick, no-fuss installation.
3. Arlo Essential Video Doorbell
Arlo’s video doorbell comes in both wired and wireless options, with the wireless version being the easiest for DIY installation. It features detailed instructions and offers flexible mounting options, making it user-friendly for beginners.
DIY Installation: Step-by-Step Guide
If you’re ready to try your hand at installing a video doorbell yourself, here’s a general step-by-step guide for both wired and wireless models.
Installing a Battery-Powered (Wireless) Video Doorbell
Charge the Battery: Before starting, make sure the video doorbell’s battery is fully charged. Most models come with rechargeable batteries that need a full charge before installation.
Download the App: Download the manufacturer’s app (Ring, Nest, Arlo, etc.) to your smartphone. The app will guide you through the setup and pairing process.
Choose the Mounting Location: Pick a spot next to your door where the doorbell will have a clear view of visitors. Make sure it’s within your Wi-Fi range.
Mount the Doorbell: Use the mounting bracket provided by the manufacturer to attach the doorbell to the wall. You’ll likely need to use a drill to secure the bracket.
Connect to Wi-Fi: Once the doorbell is mounted, follow the app’s instructions to connect the device to your home Wi-Fi network. This usually involves scanning a QR code on the doorbell or inputting your Wi-Fi credentials.
Test the System: After the connection is established, test the doorbell’s camera, audio, and motion detection features to ensure everything is working properly.
You can click here if you want to read a review of one of the best battery video doorbells.
Installing a Wired Video Doorbell
Turn Off Power: Before removing your existing doorbell, turn off the power to the doorbell circuit at your home’s breaker box to avoid any electrical hazards.
Remove the Old Doorbell: Unscrew and detach your existing doorbell, making sure to carefully handle the wires behind it. Use a voltage tester to confirm that the power is indeed off.
Connect the Wires to the New Doorbell: Most wired video doorbells come with terminals or screws for connecting the wires. Attach the existing wires to these terminals, following the manufacturer’s instructions.
Mount the Doorbell: Once the wires are connected, mount the doorbell onto the wall or bracket, securing it in place.
Turn the Power Back On: After the doorbell is securely mounted, turn the power back on at the breaker. The doorbell should power up, and you can proceed with the in-app setup.
Configure Settings: Follow the instructions in the app to connect the doorbell to your Wi-Fi and set up features like motion detection and notifications.
Test the System: Test all features to make sure everything works as expected, including the video quality, two-way audio, and motion alerts.
You can click here if you want to read a review of one of the best wired doorbells.
DIY Difficulty: How Easy Is It?
For Wireless Models:
Easy. Battery-powered video doorbells are designed for easy installation. With no need to handle wiring or turn off power, they’re perfect for beginners. Most can be installed in under 30 minutes, and the hardest part is usually ensuring the device is within your Wi-Fi range.
For Wired Models:
Moderate. While wired video doorbells involve some basic electrical work, it’s not overly complicated. As long as you’re comfortable turning off the power and handling a couple of wires, you should be able to complete the installation in about an hour. However, the presence of an existing doorbell system is crucial—if you don’t have one, installing one from scratch would be more complex.
Conclusion
Setting up a video doorbell as a DIYer is relatively straightforward, especially with battery-powered models. Most people with basic DIY skills can handle the installation, particularly if they opt for a wireless model. Wired models are slightly more complex due to the electrical component, but with the right instructions and precautions, they are still manageable for the average homeowner.
Final Takeaways:
Wireless Video Doorbells: Quick and easy installation, ideal for beginners.
Wired Video Doorbells: Slightly more challenging but manageable if you’re comfortable working with electrical systems.
When to Hire a Professional: If you lack confidence in working with wiring or have a complicated system, a professional can make the process hassle-free.
We would also recommend to go for the wired option but it is nice to know that you can carry this out with a wireless doorbell if needed.
With the right preparation, you’ll soon enjoy the added security and convenience of a video doorbell!


